Exposure Bracketing with Camera M
For All the Dynamic Range Warriors…
Bracket mode is one of the seven different capture modes Camera M offers.
This mode supports the simultaneous capture of three images with three different exposure values in the native full resolution.
These captures later allow you to use them in your postprocessing workflow to extract the best dynamic range — ie, use the parts from the underexposed shot for the bright parts, parts from the overexposed shot for dark parts, and so on. This method is incredibly useful and powerful, especially with RAW or ProRAW, and convenient at capture time - since it is a one-tap capture.
How to Exposure Bracket
So how do you capture these three different images and how do you set the different exposure values? There are two distinctively different ways to go about this.
Method 1: Point-and-Shoot
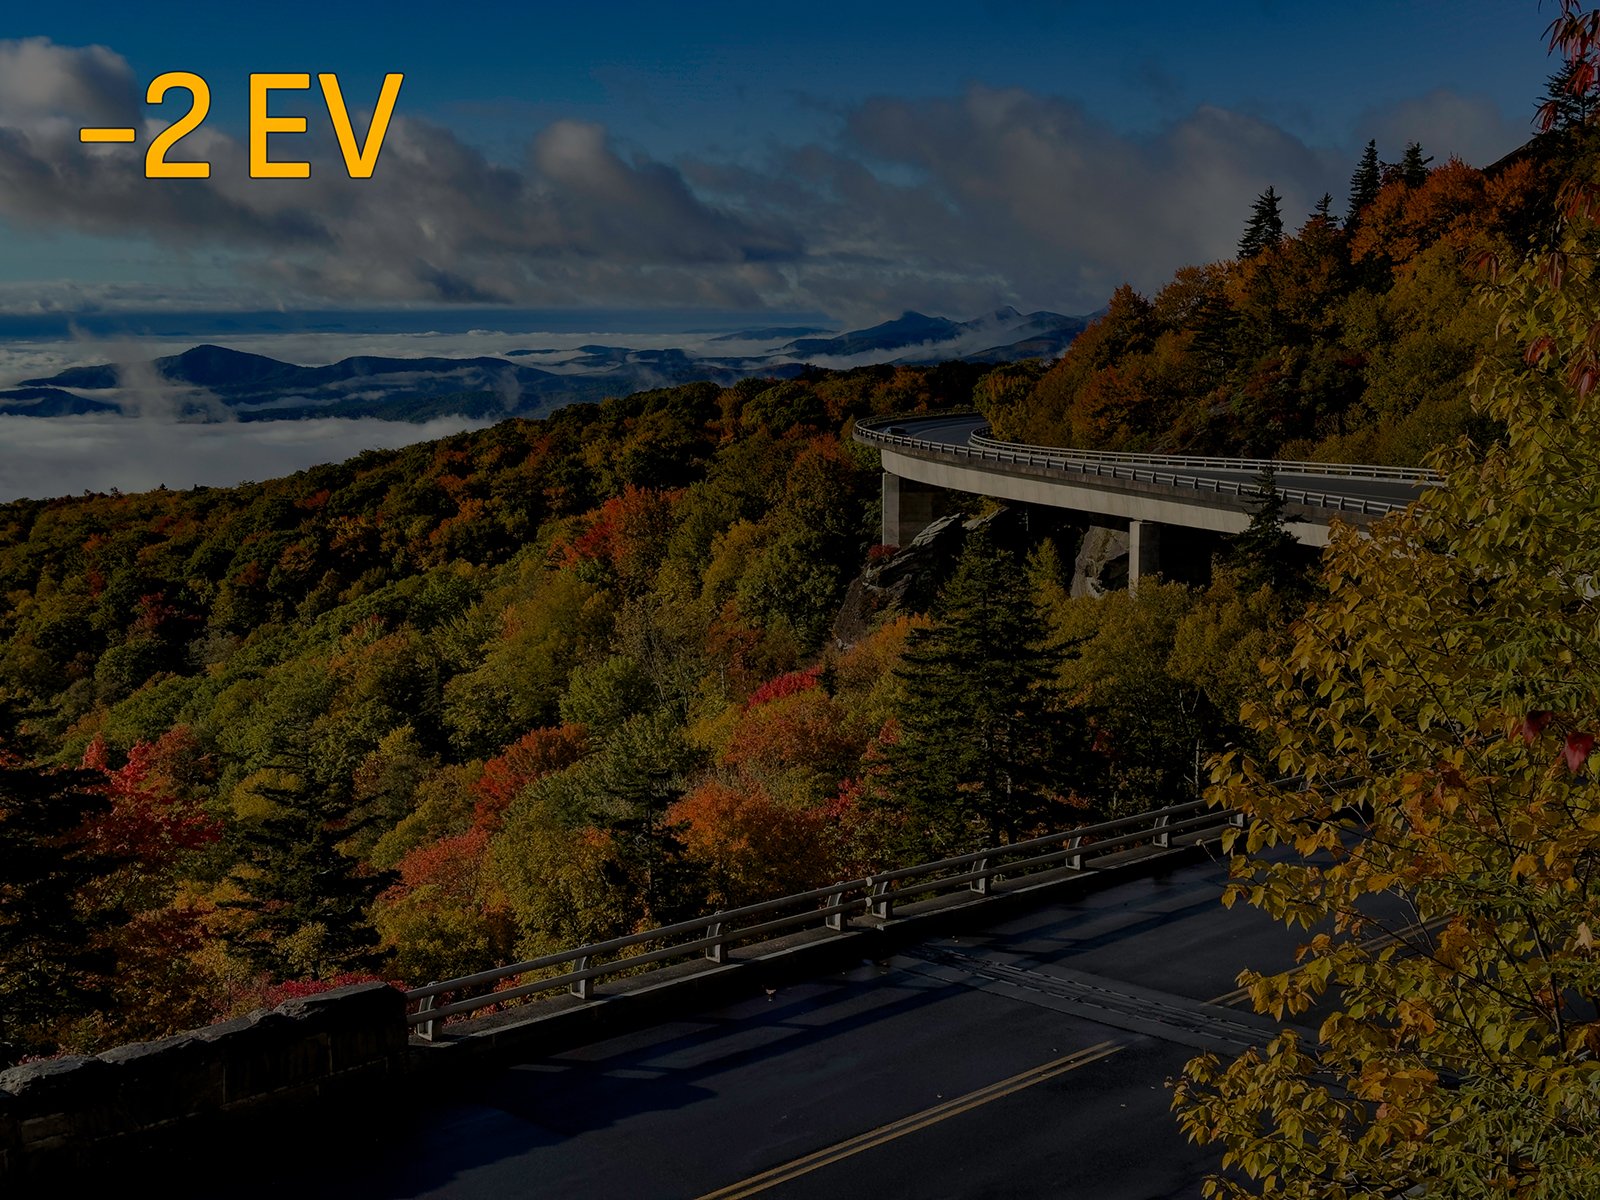
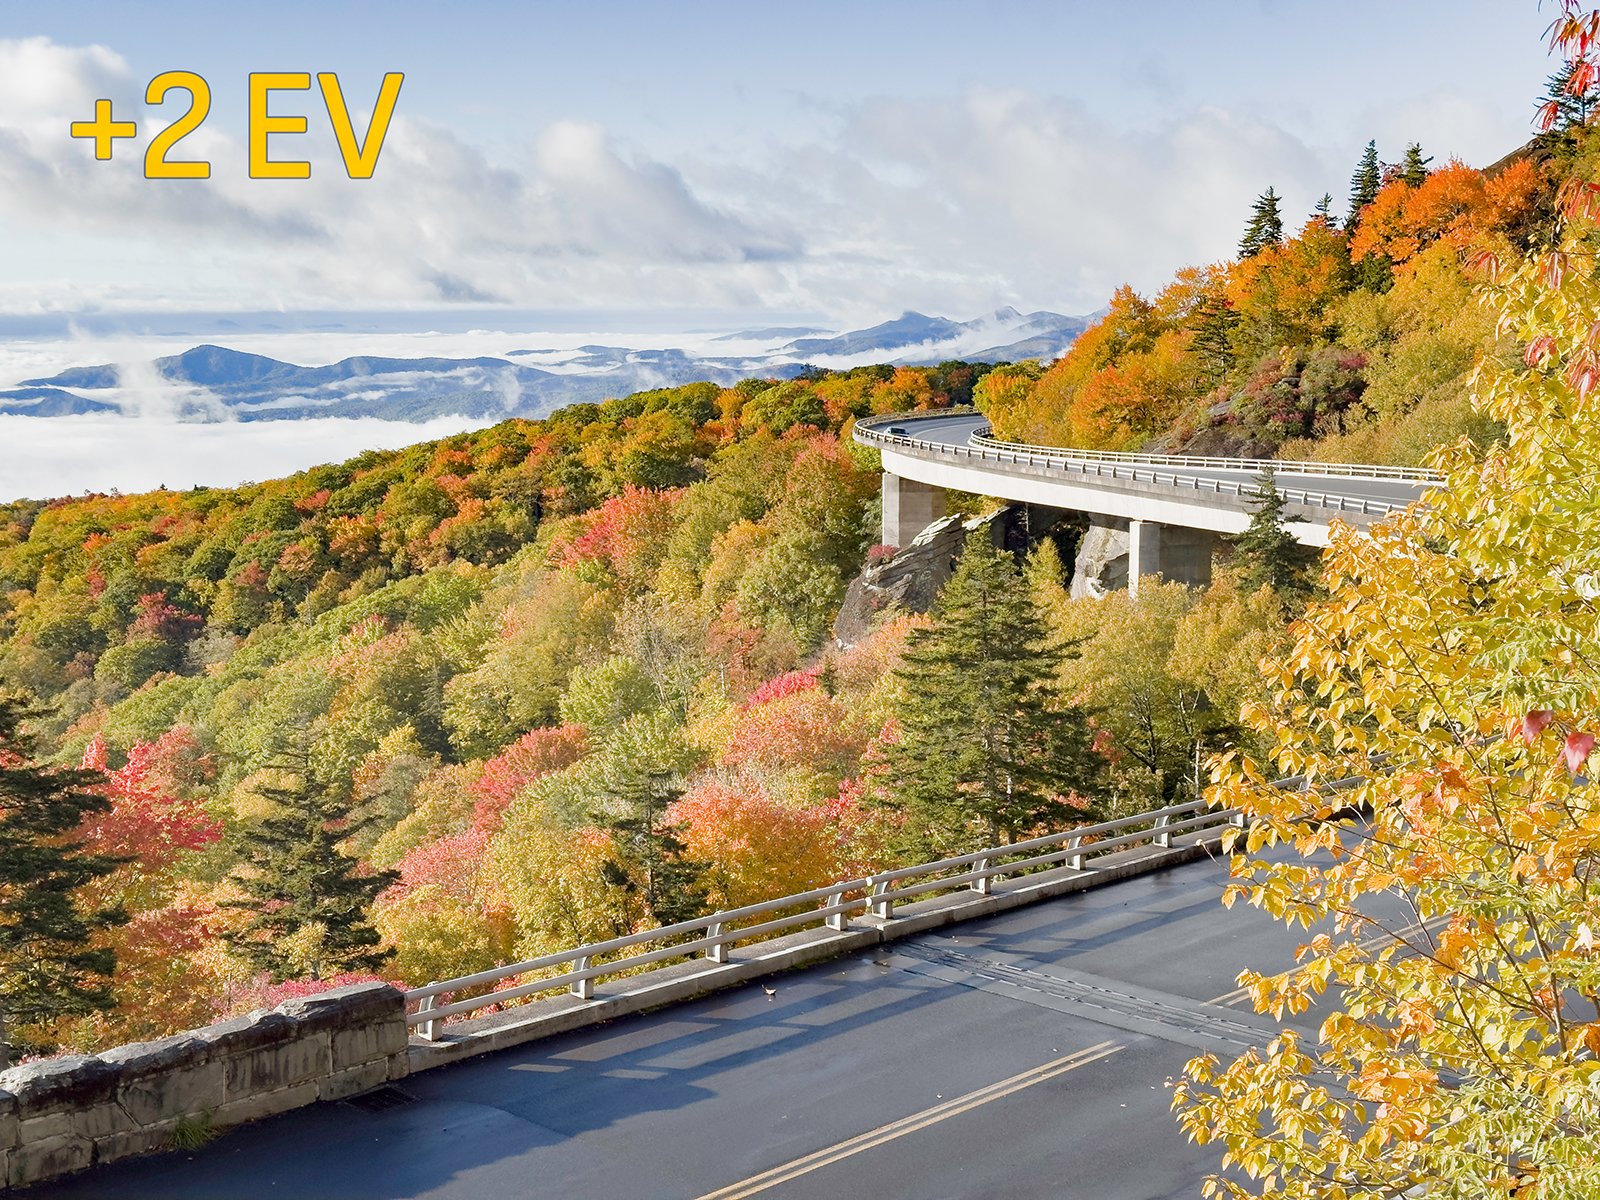
The first method to capture brackets with Camera M is to simply point and shoot. Just put Camera M in Bracket mode, select the desired image format mode (ProRAW, RAW, HEIF, or JPEG) and capture with a single tap. Camera M figures out the current exposure and captures three different images from what is visible on the camera preview. The first shot is underexposed, at -2EV, the second shot is normally exposed at 0EV, and the third at overexposed +2EV, as seen below.
Use Manual Controls
With this method, you can also use manual controls, such as manual exposure, focus, or white balance. When adjusting exposure, you can either change exposure bias (EV) on the main screen or explicitly set manual ISO and exposure duration within the Exposure screen (split screen). Again, Camera M will automatically figure out the -2EV, 0EV, and +2EV values from your settings. Once captured, you will see a number 3 badge in the last photo thumbnail on the main control panel to confirm that you captured three different shots.
When setting manual exposure, you also have a plethora of powerful tools to assist you: live RGB histogram, luminance histogram, highlight and shadow alert display, and more…


Method 2: Multiple Exposure Points
If you want more granular control over standard -2EV, 0EV, and +2EV shots, you can use Camera M’s innovative way of defining individual exposure points for bracketing.
Tap-to-Bracket
First, make sure Camera M is in Bracket mode and the desired image format is selected - ProRAW, RAW, HEIF, or JPEG.
While on the default screen, simply tap on the camera preview to select an exposure point. You will see three different exposure point rings sprout out of the tap location.
Now, all you have to do is just drag each exposure point ring to the desired points of the scene and it will define the exposure for that shot using that particular point.
Once all three points are in the desired locations, tap to capture. That is it!
Pro Tip
Make sure the three exposure rings are used to define three distinguished exposure points that are different from each other. Selecting the brightest point, the darkest point, and a normal point of the scene is highly recommended.
Technical FAQ
Is image stabilization supported??
Camera M supports hardware optical and sensor stabilization, where available, for all exposure bracket captures. This is something we are highly proud of.
Why only three exposure bracket captures? Why not more?
By default, the Bracket mode captures three shots in 2EV gaps. We decided not to do five, seven, or even nine shots due to several reasons:
The dynamic range is excellent in recent iPhone and iPad cameras
More shots equate to a slower capture process
More shots equate to a lower dynamic range in each shot
More shots equate to a lower image quality in each shot
What image formats are supported?
RAW formats:
Standard RAW
ProRAW (iPhone 12 Pro or later Pro iPhones)
Processed formats:
HEIF
JPEG
Camera M is the best way for RAW exposure bracketing on iPhone or iPad.
Why not TIFF or PNG formats?
Capturing and processing TIFF and PNG image formats are slower and noticeably large file sizes of TIFF format make them not suitable for bracket capture.
Which devices are supported?
Every iPhone and iPad fully supports Camera M Bracket capture to the full extent.
Camera M Bracket mode has been available since 2019 and we have been improving it ever since. We would love to hear your feedback and suggestions on it. So please feel free to contact us via email: contact@camera-m.com


